We’ll walk you through using a traditional skep with plain, usable steps and a few honest opinions from our experience — it’s simple, but not always easy. We like to set skeps in sun, sheltered and about 18 inches off the ground, like a bird on a perch. Maybe you’ll prefer different materials; we probably do too. There’s more on inspections and harvests coming up…
Some of the links in this article may be affiliate links. If you make a purchase through these links, we may earn a small commission at no extra cost to you. Thank you.
Choosing Materials and Tools for a Traditional Skep

When we set out to make a traditional skep, the first thing we’ll look for is long, pliable rye straw — it’s really the gold standard, soft enough to bend without snapping but stiff enough to hold shape. We talk through material choices: rye straw first, but pasture grasses or reed canary grass will do if straw’s scarce. We’ll gather simple hand tools and a weaving form to keep the round cross-section true. Our weaving techniques are straightforward: bundle, bind, and weave into a cylinder, adding mid-field ridges so it won’t collapse. We coat the outside with cow dung or paper against rain and UV. One end stays removable for harvest and checks. I think it’s satisfying—like knitting a giant basket, well, almost knitting.
Selecting and Preparing the Perfect Location
Why not pick a spot that’s out of the way and fairly level so we don’t have to fight the site later? We like places with good sun exposure and some wind shelter, but not boxed in — bees need clear flight paths. Elevate the skep at least 18 inches on a sturdy stand to keep moisture and mice at bay. Entrance should face where inspections are easy; direction isn’t critical for orientation, honestly. Watch for skunk and small mammal cover nearby; if bears are possible, plan deterrents like an electric fence ahead of time. Below is a simple image to imagine the site layout and restful.
| Open field | Shade trees | Sturdy stand |
|---|---|---|
| Level ground | Windbreak | 18″ elevation |
| Clear entrance | Low traffic | Animal cover” |
Constructing the Skep and Preparing the Interior
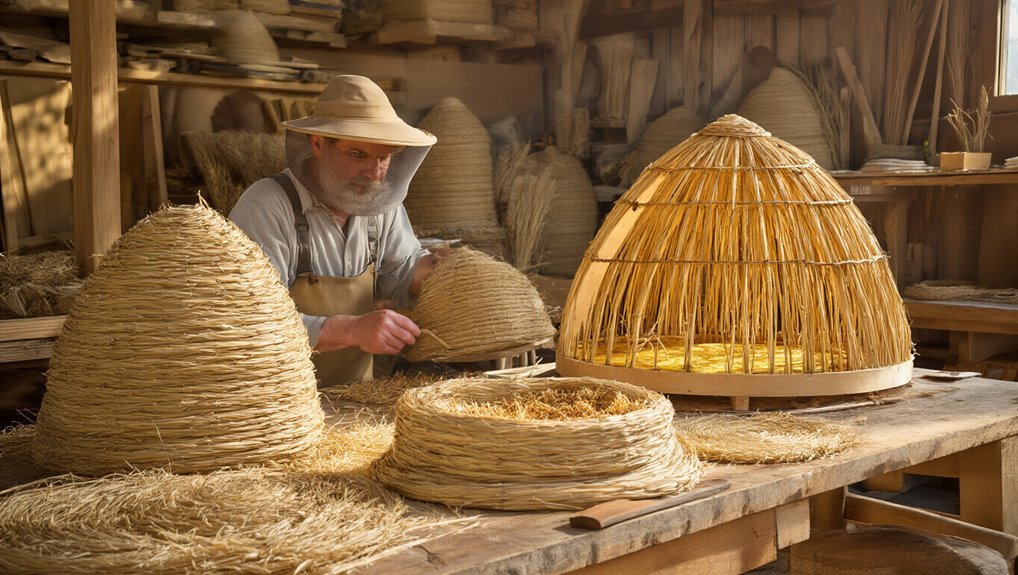
How do we start building a skep that’ll last through rain and rodent seasons? We begin with long, pliable rye straw and basic straw weaving to form a tight dome—think basket work but bigger. In my experience, reinforcing with mid-field ridges or a twig frame helps prevent collapse; it’s like adding ribs to an umbrella. We coat the exterior with cow dung or paper to shed water, which actually works. For access, we leave a removable end so harvesting or quick checks disturb bees less. Before sealing we clean and sweep, doing thorough interior prep so the space is sanitary. Maybe we’re not entirely sure of every old trick, but these steps give a durable, serviceable traditional hive. We learn, adapt, and keep trying.
Introducing Bees and Encouraging Colonization
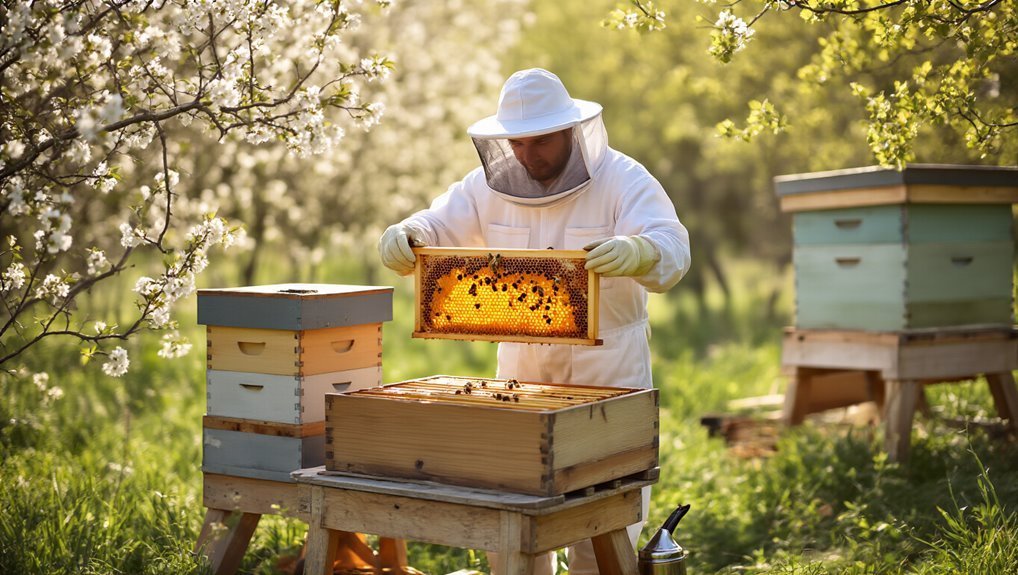
Ever wondered what it feels like to set out a humble skep and actually watch a swarm move in? We place traditional hives — twig, grass, clay pots — in sheltered, level spots with good sun and clear forage access; it’s simple—no, simple, almost like laying out an invitation. We coat exteriors with cow dung or paper for weather protection, and we mount them securely so predators can’t tip them. Minimal management helps: clean interiors before season, keep one removable end for gentle checks and harvesting. We favor the low‑tech approach because it lowers barriers and lets natural swarming find its way in. I think it’s rewarding, maybe a little nerve‑wracking, but worth it. We learn as we go. We’ll adapt, tweak, and celebrate wins.
Routine Inspections and Seasonal Care
When we inspect, we’re aiming for a careful, low‑stress check rather than a full forensic investigation. We usually do inspection timing at about 3–4 checks per season, more in spring and summer when things explode; it’s simple: look for the queen, her laying pattern, and compare open versus sealed brood. We don’t have a scale for brood biomass, so we rely on experience and a subjective feel — I think that’s honest. Nectar flow tells us when to add or remove supers, placing honey above the brood once space allows. Seasonal care means small, regular adjustments, minimal disruption, and reading the colony like a living clock. Maybe we’re cautious, maybe overly so, but it works for us. It’s reassuring, you know, in practice, actually.
Harvesting Honey From a Skep Safely
Why treat skep honey harvesting like opening a sleeping box? We suit up in full protective gear — veil, suit, gloves — because sting prevention isn’t optional, it’s common sense. We smoke gently at the entrance and beneath the opening to calm bees before lifting the cover. Then we peek for brood and the queen; we don’t want to destroy brood comb while taking honey. Only fully capped combs get harvested, and only when colony looks strong enough to recover. We cut comb with a clean knife, place it in food-grade containers for honey tasting later, and secure or reseal the skep to minimize disturbance. I think it’s careful work, like archaeology with bees; maybe slow, but worth it. We’re learning, we’re improving, honestly always.
Protecting Skeps From Pests, Predators, and Moisture

Keeping skeps safe is mostly about simple, practical defenses we can set up before trouble finds them. We use a solid or screened bottom board with an oil pan beneath to trap pests and for pest monitoring; it’s like a sticky little alarm. Elevating skeps at least 18 inches on a sturdy stand keeps skunks, mice and mud splash away — and reduces moisture. Install an entrance reducer to limit robbers and give the bees fewer fronts to defend. In bear country, we add electric fences; I think they’re unpleasant but effective. Choose a dry, sheltered site and provide ventilation with slatted racks or appropriate bottoms. Predator deterrence is mostly common sense, really. Well, maybe we’re stating the obvious, but it’s true. Trust us. Honestly.
Frequently Asked Questions
How to Properly Use a Beehive in Minecraft?
We’ll place hives near flowers, calm bees with lit campfire, harvest honey bottles with glass bottles or honeycomb with shears at level five, and incorporate redstone automation into farm design to help you scale yields.
What Is the 7 10 Rule in Beekeeping?
Like a metronome, we tell you the “7–10 rule” isn’t universal: it’s a guideline to inspect colonies every 7–10 days for swarm management, adjusting hive location and interventions to monitor queen cells and colony buildup.
Are Flow Hives Better Than Traditional Hives?
We can’t say Flow Hives are universally better; with only traditional-hive data, a proper cost comparison or honey yield assessment needs external info. We recommend evaluating durability, inspection ease, and your goals before deciding today.
What Is the 3 3 3 Rule for Bees?
The 3-3-3 rule isn’t defined in our sources; think of it as a compass: we use it to gauge brood timing and colony thresholds—three days, three weeks, three months as shorthand if you provide context.