Cleaning your beekeeping gloves is one of the simplest things you can do to protect your bees, your hive, and your own safety. A thorough wash every few inspections removes alarm pheromones, stubborn propolis build-up, and potentially harmful bacteria — making each visit calmer and safer for everyone involved, including the colony.
Some of the links in this article may be affiliate links. If you make a purchase through these links, we may earn a small commission at no extra cost to you. Thank you.
Here’s what you’ll learn in this guide:
- Why dirty gloves make bees more defensive — and how cleaning fixes it
- Step-by-step cleaning methods for leather, rubber, and nitrile gloves
- How to remove stubborn propolis, including the freezer trick that actually works
- How often to clean, how to dry properly, and when to replace
- The most common cleaning mistakes — and how to avoid each one
Why Do Beekeeping Gloves Need Regular Cleaning?
When you reach into a hive, your gloves pick up far more than honey. They collect alarm pheromones — the chemical signals bees release to alert the colony to a threat. These compounds cling to glove material long after you’ve left the apiary. Wear the same unwashed gloves to your next inspection and you’re essentially announcing danger before you’ve even lifted the hive cover.
Beyond bee behaviour, there’s a real disease risk to consider. Propolis — the sticky resin bees use to seal gaps in the hive — coats your gloves during every inspection. That propolis layer traps bacteria, debris, and disease spores against the material. American foulbrood (AFB), one of the most serious bacterial diseases in beekeeping, produces spores that remain viable on equipment for decades. While gloves aren’t the sole vector for disease spread, dirty gear is always an unnecessary risk factor that responsible beekeepers can easily eliminate.
There’s also a very practical reason to keep gloves clean: they last significantly longer. Propolis and wax degrade leather over time, and accumulated grime weakens the seams on rubber and nitrile gloves. Experienced beekeepers consistently find that gloves given regular care last two to three times as long as neglected ones. A 10-minute cleaning session after every few visits can add years to a good pair of gloves.
If you’re newer to the craft and still building your routines, it helps to understand the full scope of what beekeeping involves day to day. Getting a solid grounding in what beekeeping really entails makes habits like glove care much easier to contextualise and stick to from the very start.
What Types of Beekeeping Gloves Are Easiest to Clean?
The right cleaning method depends entirely on what your gloves are made of. The three most common types behave very differently when it comes to washing, drying, and long-term care.
| Glove Type | Cleaning Ease | Typical Lifespan | Best Suited For |
|---|---|---|---|
| Leather | Moderate — hand wash and condition required | 3–5 years with care | Experienced beekeepers, high-sting-risk work |
| Rubber / Gauntlet | Easy — rinse, scrub, and air dry | 1–2 active seasons | Beginners, multiple-hive operations, wet conditions |
| Nitrile | Very easy, but fragile | Single use to a few months | Hot weather beekeeping, dexterity-focused tasks |
Leather gloves offer excellent sting protection and durability but need the most careful approach. They absorb water and can crack if soaked or dried incorrectly. Always hand-wash and condition after each clean — never skip the conditioning step.
Rubber gauntlet gloves are the most forgiving to clean. You can rinse them under a tap, scrub with soap, and hang them to dry. They don’t absorb alarm pheromones as deeply as leather, making odour removal far more straightforward.
Nitrile gloves are lightweight and often semi-disposable. Many beekeepers simply replace them rather than clean them. If you’re reusing nitrile, be gentle — they’re thin and tear easily under vigorous scrubbing. At the first sign of a pinhole or thin spot, replace rather than risk a sting through compromised material.
What Supplies Do You Need to Clean Beekeeping Gloves?
You don’t need a specialist kit. Here’s everything to gather before you start:
- Warm water — cool to lukewarm for leather; warmer is fine for rubber and nitrile
- Mild dish soap or a dedicated leather cleaner for leather gloves
- A soft-bristled brush — an old toothbrush is perfect for seams and crevices
- A clean cloth or sponge for applying soap and wiping away residue
- Leather conditioner — essential for leather gloves after every single wash
- White vinegar — optional, for deodourising rubber gloves (one part vinegar to five parts water)
- A well-ventilated drying spot away from direct heat sources and sunlight
Avoid harsh detergents, undiluted bleach on leather, and machine washing any gloves with leather components. The heat and agitation in a washing machine destroys the shape, stitching, and structural integrity of most beekeeping gloves.
How Do You Clean Leather Beekeeping Gloves Step by Step?
Leather needs a gentle, methodical approach. Follow these steps consistently and a quality pair of leather gloves can serve you reliably through three to five years of regular inspections.
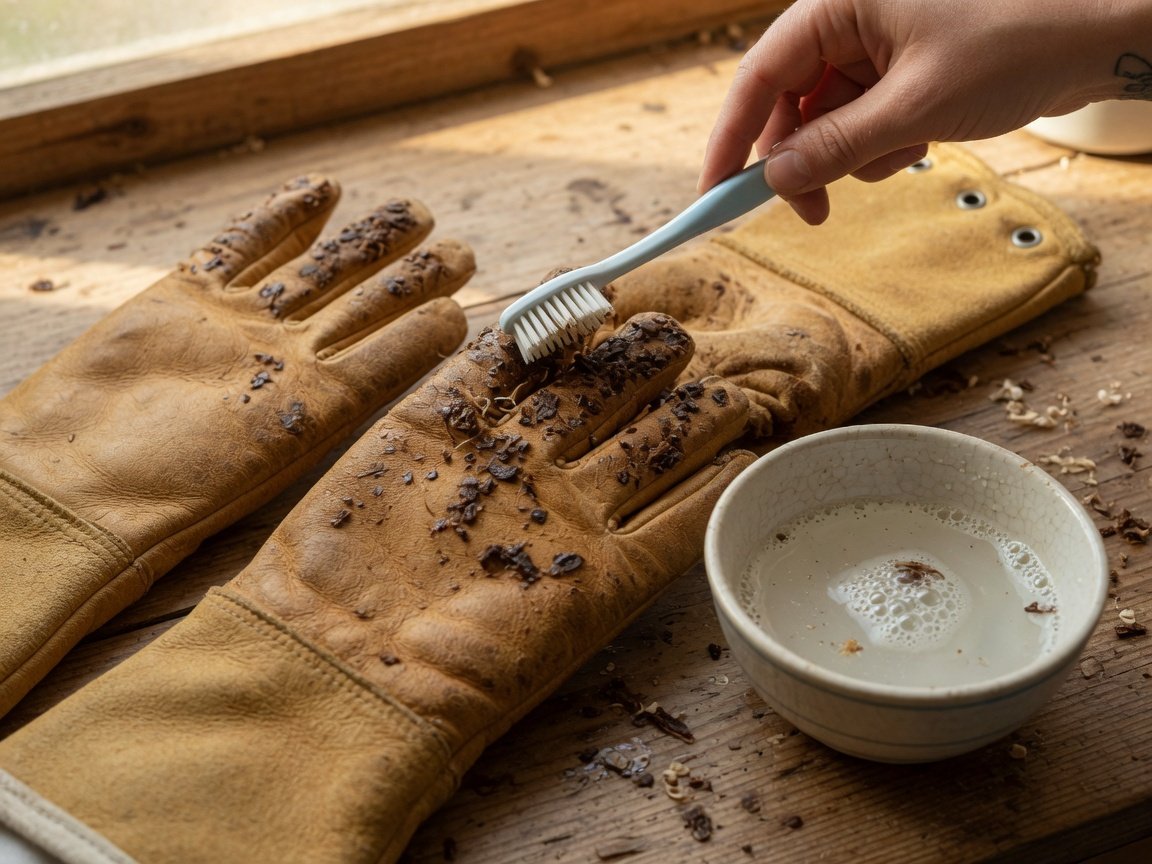
- Brush off dry debris first. Before adding any water, use a dry brush to remove dried propolis flakes, wax, and surface dirt. This stops you grinding debris deeper into the leather grain when you begin scrubbing.
- Dampen carefully — don’t soak. Use cool or lukewarm water and dampen the gloves slightly. Too much water causes leather to stiffen and crack permanently as it dries. Avoid running leather gloves under a running tap.
- Apply soap to a cloth, not directly to the glove. Work a small amount of mild soap into a damp cloth first, then transfer it to the glove in gentle circular motions. Pay extra attention to fingertips, palm seams, and the gauntlet cuff — these areas collect the most propolis.
- Use a soft brush for stubborn spots. For thick propolis deposits on seams, apply a little extra soap and work it loose with a soft toothbrush. Keep your pressure light — aggressive scrubbing damages the leather surface grain.
- Rinse using a damp cloth, not a tap. Wipe away all soap residue with a clean damp cloth, rinsing the cloth repeatedly until no lather transfers. No soap should remain on the leather.
- Condition while still slightly damp. Apply leather conditioner and work it in thoroughly. This replaces the natural oils stripped away by washing. Allow at least 10–15 minutes for the conditioner to absorb before moving to the next step.
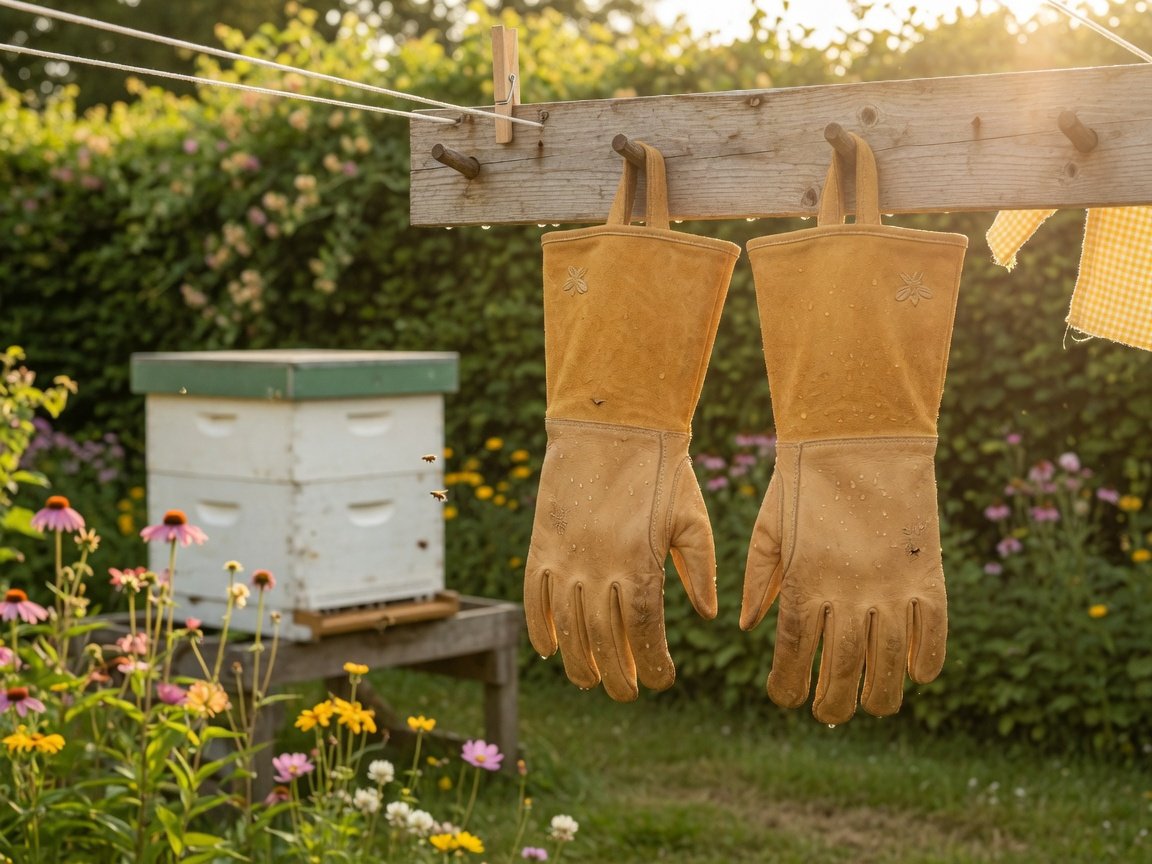
- Dry slowly at room temperature. Stuff the gloves lightly with crumpled newspaper or a clean cloth to help them hold their shape. Leave them in a warm, well-ventilated area away from direct sunlight, heaters, and radiators. Allow a full 24 hours before using them again.
How Do You Clean Rubber or Nitrile Beekeeping Gloves?
Rubber and nitrile gloves are much more straightforward to clean than leather. Here’s the quick process from start to finish:
- Rinse the outside of the gloves under warm running water to remove loose debris, surface honey, and wax.
- Apply a squirt of mild dish soap and scrub the entire glove surface with your hands or a soft brush. Give the gauntlet cuffs particular attention — they trap propolis and wax along the folds and are easy to miss.
- Rinse thoroughly under warm running water until it runs completely clear and no soap foam remains.
- Shake off excess water and hang to air dry. Once the outside surface is dry, turn the gloves inside out so interior moisture can escape too.
For disinfecting rubber gloves between different apiaries — particularly if you manage hives at multiple sites — a diluted bleach solution works very well. Use approximately one tablespoon of household bleach per litre of water. Apply after your normal wash, leave for two to three minutes, then rinse completely and allow to dry fully before your next visit.
Nitrile gloves follow exactly the same cleaning process, but go gently. If you notice any thinning, pinhole, or tear during washing, set them aside and reach for a fresh pair. A compromised nitrile glove simply isn’t worth the risk.
How Do You Remove Propolis and Bee Venom from Gloves?
Propolis deserves its own section because it’s genuinely one of the most stubborn substances you’ll encounter in beekeeping. Room-temperature water barely touches it. Here’s what actually works for each glove type.
Removing Propolis from Rubber or Nitrile Gloves
Propolis becomes brittle when chilled. Place your rubber or nitrile gloves in the freezer for 20–30 minutes, then remove them and flex the material firmly. Frozen propolis cracks and flakes away from the glove surface rather than smearing deeper into the material. Follow this with a warm soapy wash to remove the residue, and you’ll have clean gloves with minimal effort and no scraping required.
Removing Propolis from Leather Gloves
For leather, the freezer approach isn’t appropriate. Instead, apply a small amount of cooking oil — olive oil works very well — directly to the stubborn propolis deposits. Work it in gently and allow it to sit for a few minutes. The oil softens the resin without damaging the leather grain, making it much easier to lift away with a soft brush. Follow immediately with your normal leather cleaning routine.
Removing Bee Venom Residue and Alarm Pheromones
Bee venom leaves a subtle but detectable scent that nearby bees can and will react to. A warm soapy wash removes most of it during a standard clean. For rubber gloves carrying particularly persistent odours, a diluted white vinegar rinse — one part vinegar to five parts water — neutralises residual smell effectively. Follow with a plain water rinse and air dry completely before your next inspection.
Tracking your glove cleaning routine alongside your hive records is a habit that pays off over time. Beekeepers who maintain thorough and well-organised hive management notes find it much easier to identify patterns — like a colony that seems consistently more defensive than expected, which can sometimes point back to inadequate glove washing rather than colony temperament alone.
How Should You Dry and Store Your Beekeeping Gloves Properly?
Drying is where many beekeepers quietly go wrong. Rushing this step leads to mould on leather, musty-smelling rubber gloves, and equipment that deteriorates far faster than it should. The rule is simple: always air dry, and never compromise on giving gloves enough time.
Drying tips for all glove types:
- Never use a tumble dryer, direct sunlight, or a radiator — heat damages all beekeeping glove materials without exception
- For leather gloves, stuff with crumpled newspaper to maintain shape while drying
- For rubber and nitrile, turn inside out once the exterior is dry so the interior can breathe and dry evenly
- Allow a minimum of 24 hours for leather gloves; 4–6 hours is usually sufficient for rubber and nitrile in a warm, ventilated space
- Hang rather than lay flat wherever possible — better airflow means faster, more even drying throughout
Storage tips:
- Only ever store fully dry gloves — mould can establish within 24–48 hours on even slightly damp material
- Keep gloves somewhere cool and dry, away from strong odours — glove material absorbs smells surprisingly easily
- Use a breathable cotton bag or open box rather than a sealed plastic bag, which traps moisture inside
- Avoid prolonged UV exposure during storage — sunlight degrades rubber over time and dries out and fades leather
How Often Should You Clean Your Beekeeping Gloves?
The right frequency depends on how actively you’re beekeeping and how defensive your colonies tend to be. As a reliable starting point, aim to clean your gloves after every two to three hive inspections. If a colony was particularly agitated during an inspection, or if you took stings directly through your gloves, wash them before your very next visit without exception.
Beekeepers managing multiple hives or visiting separate apiaries in a single session should try to clean gloves between sites wherever practical. Cross-contamination between hives is a genuine concern, especially during disease season. Even a quick soap wash and rinse between apiaries reduces risk meaningfully — it doesn’t need to be a full deep clean to make a difference.
During peak season — spring through early autumn in most temperate climates — a monthly deep clean in addition to your routine washes keeps gloves in the best possible condition. In the off-season, clean them thoroughly before putting them into storage, and again when you bring them back into active use the following spring. That pre-season wash removes anything that settled during storage and ensures you’re starting fresh.
This kind of mindful, consistent equipment care is part of the broader responsibility that comes with keeping healthy bees. Understanding why beekeeping matters and what genuinely healthy hive management looks like helps put the small unglamorous tasks like glove washing into their proper context — they’re not optional extras, they’re foundations.
When Should You Replace Your Beekeeping Gloves Rather Than Clean Them?
Even the best-cared-for gloves eventually reach the end of their useful life. Knowing when to replace rather than clean is just as important as having a good cleaning routine. Here are the clearest signs that it’s time for a new pair:
- Leather is cracking or stiff despite conditioning — once the leather fibres break down structurally, they won’t provide reliable sting protection regardless of how well you care for them
- Seams are splitting or stitching is unravelling — a compromised seam is an open invitation for a sting, and these cannot be reliably repaired in the field
- Visible pinholes or thin spots on rubber or nitrile — impossible to fix safely and should trigger immediate replacement
- Persistent odour that survives multiple washes — when material has absorbed too much venom, propolis, or bacteria to clean effectively, it’s time to move on
- Gauntlet cuffs no longer seal against your bee suit — the cuff is your primary defence against bees crawling up your arm; if it’s torn, stretched, or misshapen, the gloves have already failed at their most important job
Quality leather gloves, with regular cleaning and conditioning, typically last three to five years under normal beekeeping use. Rubber gauntlet gloves generally hold up for one to two active seasons. Nitrile gloves are best treated as semi-disposables — replace them at the first sign of wear rather than pushing them further.
Don’t try to squeeze one more season out of damaged gloves. The cost of a new pair is always less than an unexpected, painful sting at exactly the wrong moment. If you’re building out your knowledge of beekeeping equipment and practice more broadly, the best beginner beekeeping books cover gear selection and care in excellent practical detail.
What Common Cleaning Mistakes Should You Avoid?
Even experienced beekeepers fall into these traps. Knowing them upfront saves a ruined pair of gloves and a frustrating inspection.
Mistake 1: Machine washing leather gloves. This is the most common and most damaging error. The heat and agitation will stiffen and crack them beyond recovery — no amount of conditioning will undo it. Leather gloves are hand-wash only, no exceptions.
Mistake 2: Over-soaking leather. Too much water causes leather to dry hard and stiff. Dampen, don’t drench. Use a cloth to transfer moisture rather than running the gloves under a tap.
Mistake 3: Skipping the conditioning step. Washing strips natural oils from leather. Without conditioning after every wash, it becomes brittle within a few cleaning cycles. This step isn’t optional — it’s part of the cleaning process.
Mistake 4: Drying near a heat source. Radiators, tumble dryers, and direct sunlight all cause damage, whether to leather or rubber. Air drying in a ventilated space is always the right approach — patience here protects your investment.
Mistake 5: Neglecting the gauntlet cuffs. The cuff section is easy to overlook but traps just as much propolis, wax, and bacteria as the fingertips. Scrub the entire glove including the cuffs at every single wash — this is often where the worst build-up hides.
Mistake 6: Storing gloves while still damp. One of the most reliable ways to grow mould quickly and permanently ruin a good pair of gloves. Always confirm your gloves are completely dry before putting them away — run a clean dry cloth around the interior if you’re unsure.
Frequently Asked Questions About Cleaning Beekeeping Gloves
Can I put my beekeeping gloves in the washing machine?
Leather beekeeping gloves should never go in the washing machine. The heat and agitation will stiffen and crack them permanently, and no amount of conditioning will undo that damage. Rubber and nitrile gloves can technically survive a gentle cold cycle, but hand washing gives you far more control and is gentler on the seams and material. For rubber gloves in a time crunch, a quick hand rinse with dish soap is better than risking machine damage.
How do I get rid of the smell on my beekeeping gloves?
The main culprits are alarm pheromones, bee venom residue, and trapped sweat. A thorough wash with mild soap removes the majority of odours. For rubber gloves with particularly stubborn smells, a diluted white vinegar rinse — one part vinegar to five parts water — neutralises the smell effectively without damaging the material. Follow with a plain water rinse and air dry completely. For leather gloves, applying a leather conditioner after washing also helps freshen the material alongside restoring its suppleness.
How do I remove hardened propolis from my gloves?
Cold is the most effective tool for rubber or nitrile gloves. Freeze them for 20–30 minutes, then flex the material firmly — the propolis becomes brittle and flakes away cleanly rather than smearing. For leather gloves, apply a small amount of cooking oil to the affected area, allow it to soften for a few minutes, then proceed with your normal cleaning routine. The oil breaks down the resin without damaging the leather. Avoid scraping with metal tools, which scratch and score the glove surface.
Can I use bleach to disinfect my beekeeping gloves?
Bleach should never contact leather gloves — it degrades the material rapidly and will ruin them with even a single application. For rubber gloves, a properly diluted bleach solution (approximately one tablespoon of household bleach per litre of water) is safe and effective for disinfection, particularly when moving between different apiaries. Always rinse the gloves completely after bleach contact and allow them to dry fully before use. If the gloves still smell of bleach after rinsing, rinse them again — incomplete rinsing can irritate bees.
When should I replace my beekeeping gloves rather than clean them?
Replace your gloves when you see cracked or stiff leather that no longer responds to conditioning, split seams or unravelling stitching, visible pinholes or thinning on rubber or nitrile, or persistent odour that survives multiple washes. Any of these mean the gloves can no longer provide reliable protection. Quality leather gloves last three to five years with consistent care; rubber gloves typically last one to two active seasons. Don’t try to push damaged gloves through one more inspection — a sting through a compromised glove is never worth the saving.
Should I clean my gloves between inspecting different hives?
Ideally, yes — especially when visiting multiple apiaries or if any hive shows signs of illness. At minimum, a quick soap rinse between sites reduces alarm pheromone transfer between colonies and lowers the risk of moving pathogens from one hive to another. If a full wash isn’t practical in the field, carry a small spray bottle of diluted soap and water along with a cloth as a quick interim measure, then do a proper wash when you return home.
Final Thoughts: Build the Habit Once, Benefit Every Season
Cleaning your be ekeeping gloves isn’t the most exciting part of keeping bees, but it’s one of the small habits that quietly makes everything else go better. Calmer inspections, healthier hives, and gear that lasts several seasons instead of one — those benefits compound quickly.
Here’s a simple routine to build from your next inspection:
- After every inspection: Brush off dry debris; rinse rubber or nitrile gloves under the tap; wipe down leather with a damp cloth
- Every 2–3 inspections: Full wash with soap, thorough rinse, and air dry; condition leather before putting gloves away
- Monthly during active season: Deep clean all gloves, inspect for wear, replace anything showing damage
- End of season: Thorough clean, full leather conditioning, and proper storage in a cool dry place until spring
Start with your next inspection. Before you put your gloves away, run through the steps that match your glove type. Repeat that once more. By the third time, it’ll be automatic — and your bees will almost certainly notice the difference.
—